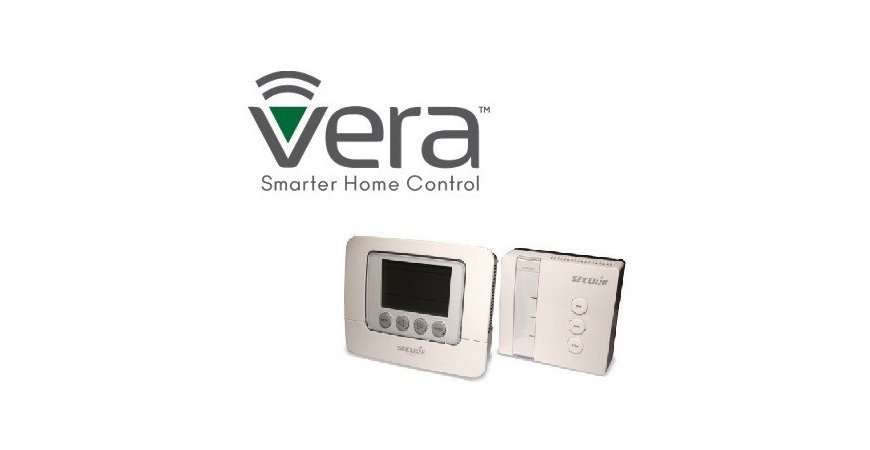
SECURE 7 DAY PROGRAMMABLE THERMOSTAT SET Integration into VERA UI7
Inclusion Programmable Termostat SCS317 into VERA
Make sure the Thermostat is within 1m of VERA and put VERA into Inclusion mode.
Choose Devices -> Add Devices.
Click on Additional Devices – then click on Other Devices and choose Other Z-Wave Devices.
After this VERA includes device to Z-Wave network. Continue with images.

After this – Put the Thermostat into Learning Mode: In the SCS317's menu this is Setup > Set up Z-Wave > Learn'. Press the Thermostat's ENTER' button twice. Scroll through the menu by pressing the + arrow button until Setup appears in the display. Press ENTER. Scroll to Set Up Z-Wave and press ENTER. Scroll to Learn and ENTER. Now you should see message (Waiting for network data).

After set up the termostat, continue with images.

After successful inclusion you can name device (Name) and Room.


VERA uses a generic thermostat icon for the Secure SCS317 - this displays the room temperature and the setpoint temperature. It also shows a variety of other buttons - these do not work as the Secure Thermostat is just a thermostat without any switching elements.
Status of device SCS317.

- The Thermostat may have a message "Waiting for wakeup to configure device"
- Wake-up the Thermostat - 'Setup > Set up Z-Wave > Send NIF'
- If it still shows the 'Waiting for wakeup to configure device' message, go to the device's 'Settings' tab and click 'Configure node right now' and then wake up device again
Adding Receiver SSR303 into VERA
- Install the Secure Receiver into the electrical system following the wiring instructions in the products user manual
- Switch the power on
- Put VERA into Inclusion mode
- Press the Receiver's 'Network' button marked >||< the network LED will flash green and then the Off LED will become red
- The Z-Wave controller should now confirm that the Receiver has been added to the network, wait while the controller saves details
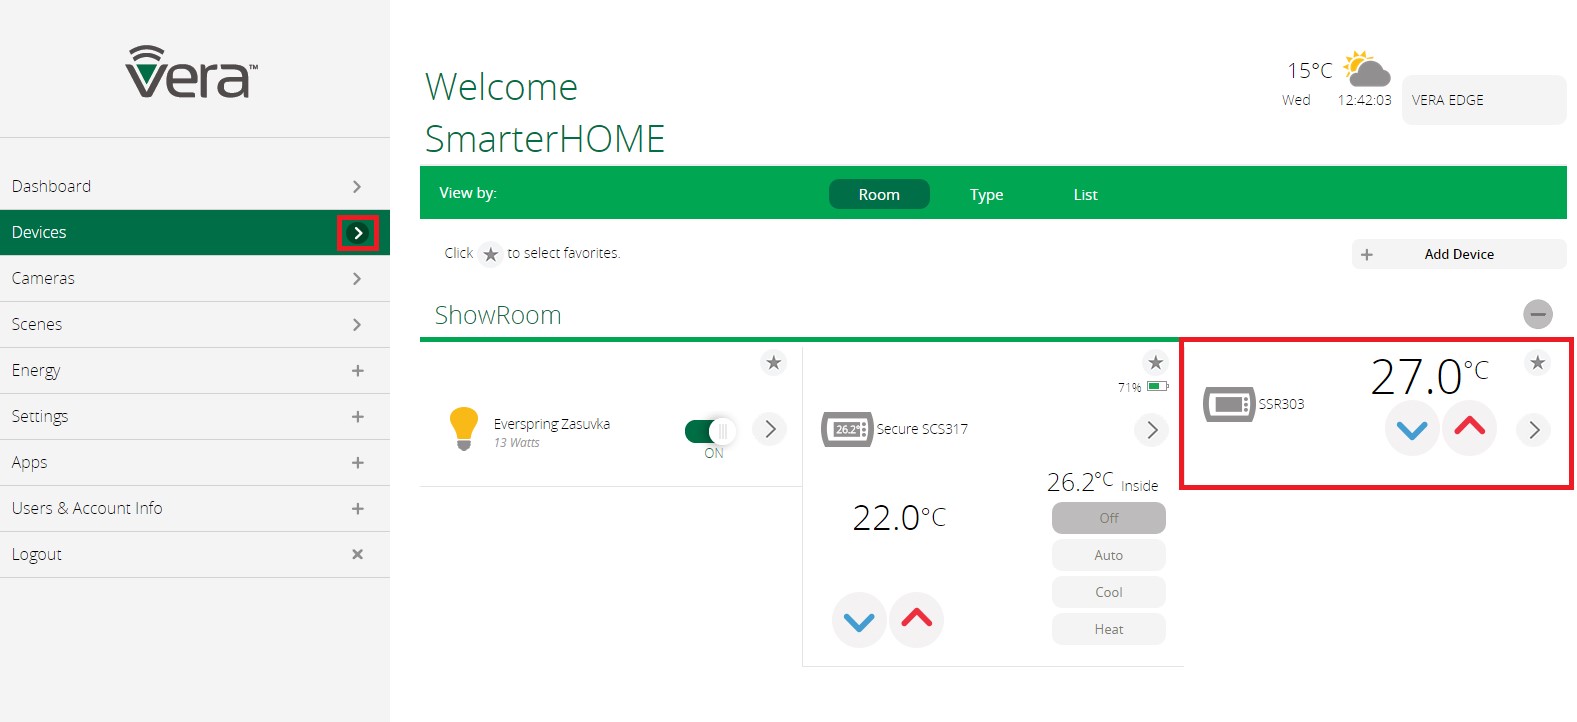
- VERA uses a generic thermostat icon for the Secure Receiver - the 'Off' and 'Heat' buttons work, but the temperature label has no function
Icon for Receiver SSR303.
Connecting Thermostat SCS317 with Receiver SSR303
- On the SCS317 programmable stat, Press ENTER twice
- Press '-' or '+' to select SETUP
- Press ENTER
- Press '-' or '+' to select SET UP Z-WAVE
- Press ENTER
- This will now show the sub menu available for the Z-Wave wireless communication settings
- Select INCLUDE NODE / RECEIVER , ASSOCIATE NODE
- Press ENTER
- INCLUDING will appear under the INCLUDE NODE heading.
- Press and hold the network button on the SSR303 Receiver until the flashing red light turns to a flashing green light followed quickly by a solid red light
- RECEIVER INCLUDED will now appear in the display of the SCS317. Press BACK and the antenna iconon the top left had corner of the display will show it is active with radio waves.
- The SCS317 and SSR303 Receiver are now 'paired'. The Receiver should receive ON/OFF commands from the Thermostat wirelessly.
Check this by turning the temperature on the SCS317 up and down to see that the SSR303 receiver responds accordingly with a green light for ON and a red light for OFF.
Leave a CommentLeave a Reply
Blog categories
Blog search
Latest Comments
SmarterHOME
on Aqara Smart Radiator Thermostat E1 quick start...Vomáčka Petr DiS.
on Aqara Smart Radiator Thermostat E1 quick start...SmarterHOME Team
on Shelly devices "Pending connection" issue (FIX)SmarterHOME Team
on Shelly devices "Pending connection" issue (FIX)SmarterHOME Team
on Shelly devices "Pending connection" issue (FIX)SmarterHOME Team
on SHELLY HomeKit Support (Open Source)Vlada
on SHELLY HomeKit Support (Open Source)


