Fibaro HC2: Charge safely under supervision and save money
Charge safely under supervision and save money
Any electric appliance may have a failure and may get broken. Most electrical appliances and home electronic devices are therefore equipped with a variety of circuits that protect the appliance or device and disconnect the power supply if there is a fault. Recently, there has been a large expansion of devices that are equipped with their own accumulator that needs to be charged every day. And I do not talk only about mobile phones, notebooks or tablets but also, for example, about robotic vacuum cleaners or mops.
Everyone, who is a little bit interested in electrical engineering, knows that charging the batteries is not completely free of risks. The accumulators can also fail, they can become overheated and can not only burn down but also explode. When we realize that the mass-expanded devices, such as battery chargers of all kinds, and they are not of ideal quality, more caution is necessary. Therefore it is not a good idea to let anything to be charged while we are not at home and the charger with the accumulator is without any supervision.
Nowadays, the robotic vacuum cleaners commonly use their own base station where there park and after they have finished their work they are being charged. This base is permanently powered from the mains and its electronic parts themselves decide when to start and when to stop charging. It is practical and convenient and we do not have to worry about it, but it ha two disadvantages. Charging can also take place when we are not at home and if this is not happening, the base still consumes electric energy, often much more Watts, and in the final annual electricity bill this can mean a couple of Euros, or even more. Unnecessarily.
The following article is for the owners of the Fibaro HC2 control unit and tries to solve both the problems at the same time. In my case, I use this solution to charge the iRobot Braava mop and the iRobot Roomba vacuum cleaner.
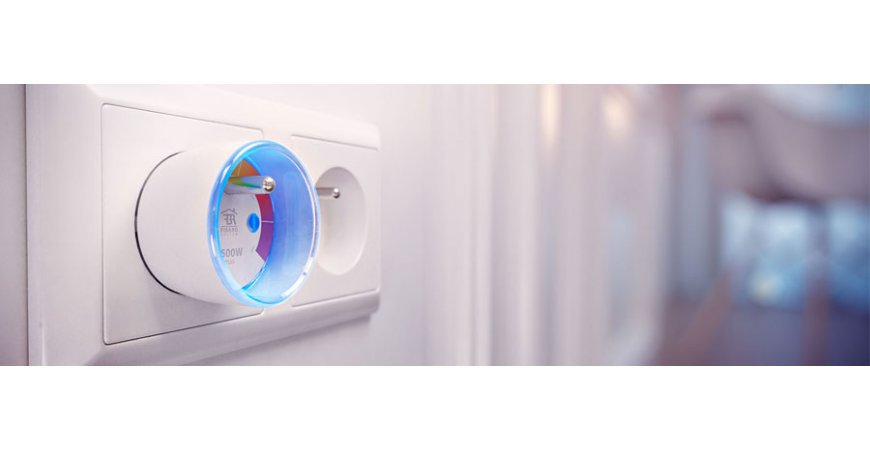
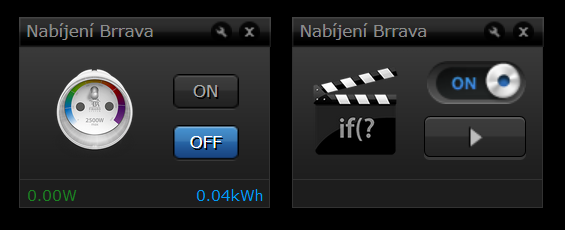
You can connect the charger or the charging base to the mains using the plug-in module Fibaro Wall Plug that is able to turn on and turn off the charger and also to measure its power consumption. In the “pair” with the module you can create a LUA scene that will be automatically triggered by the event “to turn on/off the module”.
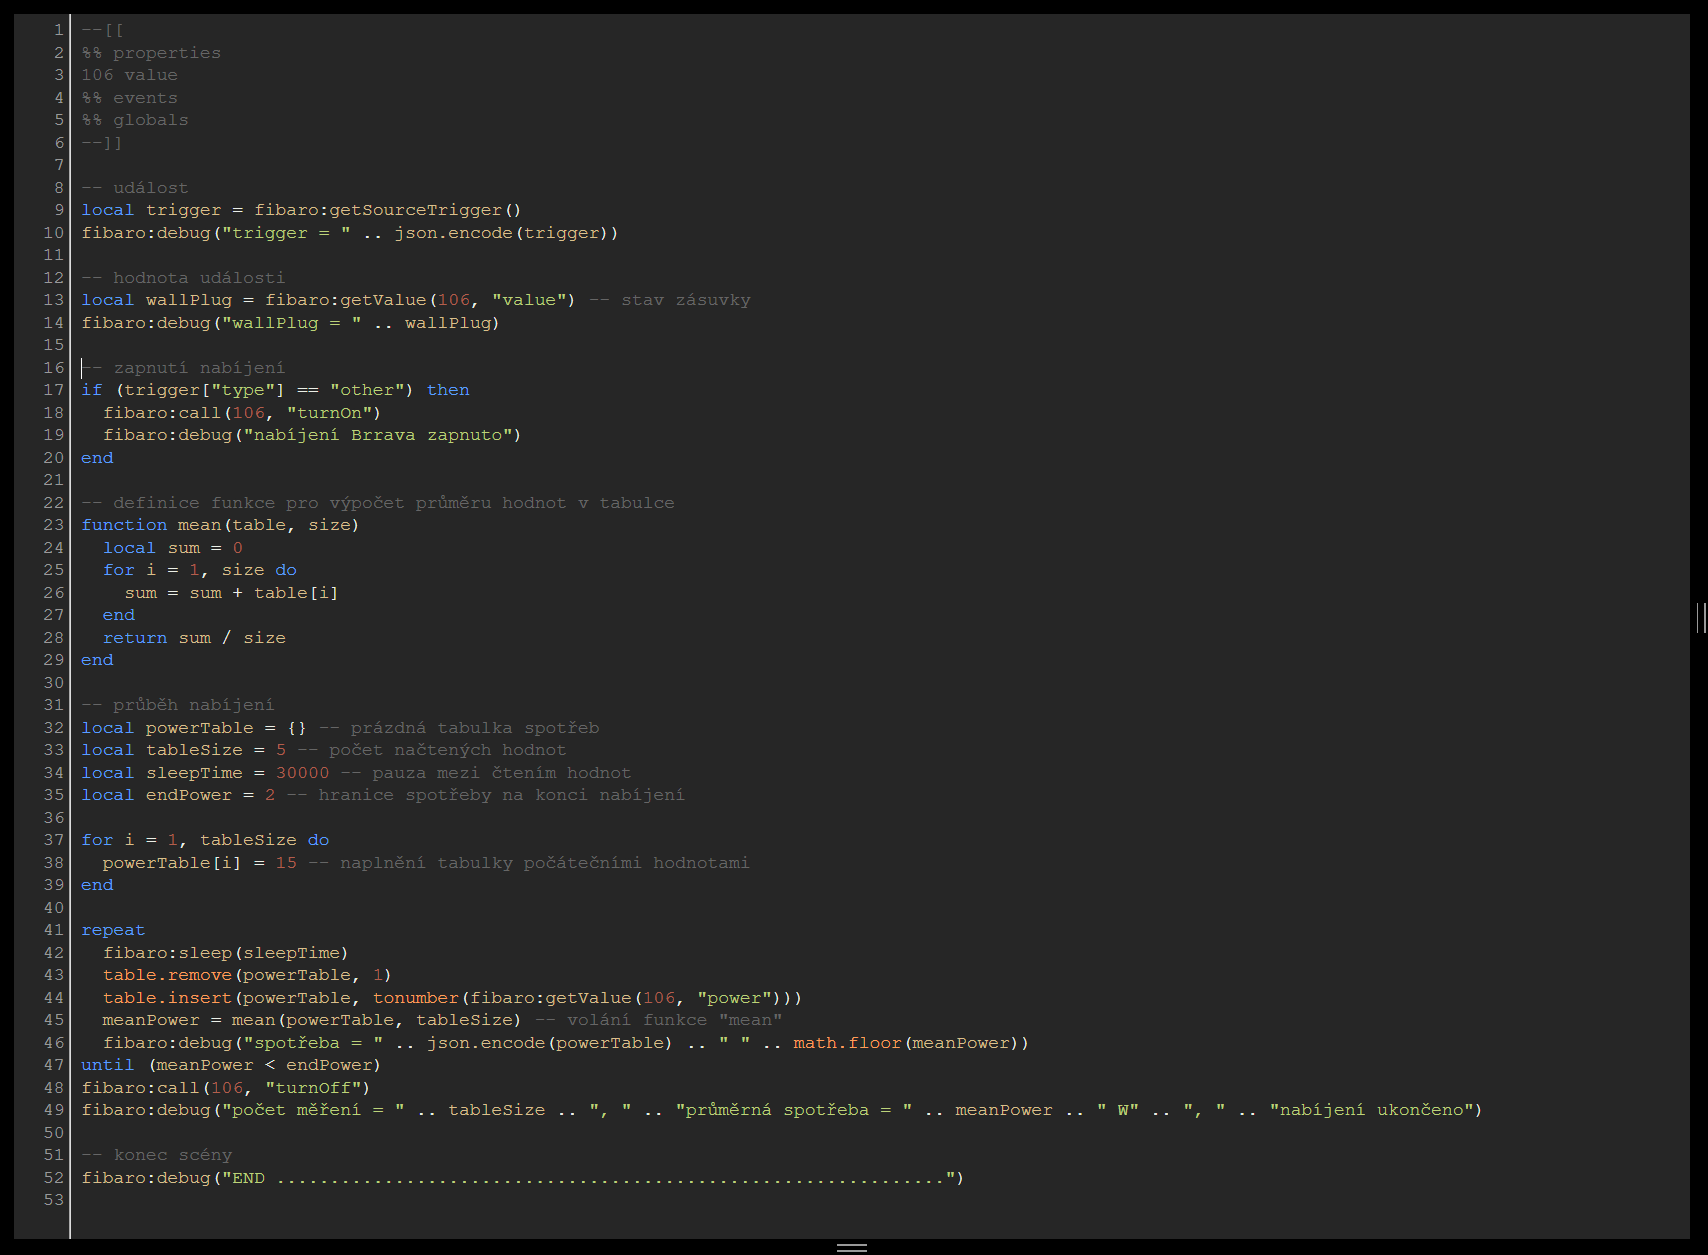
... And you should write the following code into the created scene in the LUA language:
--[[
%% properties
106 value
%% events
%% globals
]]--

-- udalost
local trigger = fibaro:getSourceTrigger();
fibaro:debug("trigger = " .. json.encode(trigger))

-- hodnota udalosti
local wallPlug = fibaro:getValue(106, "value") -- stav zasuvky
fibaro:debug("wallPlug = " .. wallPlug)

-- zapnuti nabijeni
if ( trigger["type"] == "other" ) then
	fibaro:call(106,"turnOn")
	fibaro:debug("nabijeni Brrava zapnuto")
end

-- definice funkce pro vypocet prumeru hodnot v tabulce
function mean (table, size)
	local sum = 0
	for i = 1, size do
		sum = sum + table[i]
	end
	return sum / size
end

-- prubeh nabijani
local powerTable = {} -- prazdna tabulka spotrieb
local tableSize = 5 -- pocet nactenych hodnot
local sleepTime = 30000 -- pauza medzi ctenim hodnot
local endPower = 2 -- hranica spotreby na konci nabijani

for i = 1, tableSize do
	powerTable[i] = 15 -- naplnenie tabulky pociatocnymi hodnotami
end

repeat
	fibaro:sleep(sleepTime)
	table.remove(powerTable, 1)
	table.insert(powerTable, tonumber(fibaro:getValue(106, "power")))
	meanPower = mean(powerTable, tableSize)  -- volani funkcie "mean"
	fibaro:debug("spotreba = " .. json.encode(powerTable) .. " " .. math.floor (meanPower))
until (meanPower < endPower)
fibaro:call(106, "turnOff")
fibaro:debug("pocet mereni =" .. tableSize .. ", " .. "prumerna spotreba = " .. meanPower .. " W" .. ", " .. "nabijeni ukonceno")

-- konec sceny
fibaro:debug("END ................................")
Replace each number 106 with a unique number (ID) of your plug-in module. The first part of the code gives information on the event that triggered the scene. If it was triggered otherwise than by using the physical button of the plug-in module, i.e. by a different scene, the charging turns on.
In row no. 32 the filed “powerTable” is defined where the information on the measured consumption of the charger are being stored. The number of the measurements as well as the pause between the particular measurements are stored in the variables “tableSize” and “sleepTime”. The variable “endPower” includes the limit of the charger´s charging which you can find out by experimentally tracking the charger’s consumption during and after charging (or actual measurement). The value must be slightly higher than the power consumption of the battery charger and the charged accumulator in standby mode.
The loop, starting in row no. 41, sends out the oldest measured value ever 30 seconds and loads a new one. Then, using the function defined in row no. 23, it counts the average consumption for all measurements stored in the field. The program leaves the loop only when the average consumption drops below the set limit, i.e. below the value of the variable “endPower”. Then the charger disconnects from the mains.
At the beginning of the charging process, the extract can be as follows:
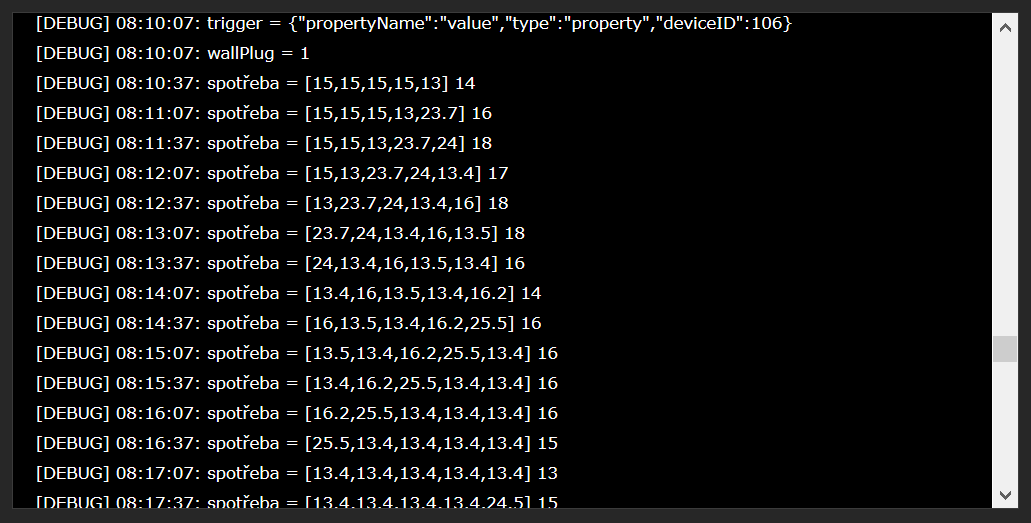
... and at the end as follows:

The entire algorithm used can be described briefly as follows: “After turning on the scene measures the continuous consumption of the connected device and if the average consumption of the last few measurements drops to the standby consumption level, the charging is terminated.”
That this is nothing revolutionary? Of course, it is not. The point is that the charging is completely under your control. You can turn it on manually, using the button on the plug-in module, you can turn it on automatically using a different scene always when you come home, and you can turn it off always when you leave home. You do not have to unplug or plug in anything. You do not have to think about it, you do not have to worry about it. Your battery is always fully charged and ready for use. And if it is not being charged it consumes only a small amount of energy.
You can freely set the parameters of the program, i.e. to change the number of measurements as well as the interval of the measurements, or to change the limit of the standby power consumption. The algorithm can be especially used wherever the power consumption of the connected device is constantly changing over time. A good example is the measurement of the power consumption for washing machines, dryers or dishwashers, with the aim to warn the operator (wife) that the laundry has already been washed or dried and that she can hang or iron it. How? By sending a notification to a mobile phone, by sending an e-mail or using a pleasant male voice from the SONOS speakers through the service Text-To-Speech (TTS) wherever your wife is.
P.S. I unload the dishwasher myself.
My motto: „Real home automation does not require any controller.“
Author: Jiří Chábera
Related products
Leave a CommentLeave a Reply
Blog categories
Blog search
Latest Comments

SmarterHOME
on Aqara Smart Radiator Thermostat E1 quick start...
Vomáčka Petr DiS.
on Aqara Smart Radiator Thermostat E1 quick start...
SmarterHOME Team
on Shelly devices "Pending connection" issue (FIX)

SmarterHOME Team
on Shelly devices "Pending connection" issue (FIX)

SmarterHOME Team
on Shelly devices "Pending connection" issue (FIX)

SmarterHOME Team
on SHELLY HomeKit Support (Open Source)
Vlada
on SHELLY HomeKit Support (Open Source)
- SMART SOLUTIONS
- About Z-Wave
- Information
- Blog
- Forum
- Brands


- Write us
- B2b
- Trainings
- Contacts
- DISCOUNTS
- Z-Wave Controllers
- Sensors and detectors
- Electrical meters
- Heating and Climate
- Switches and Dimmers
- IP Cameras
- Door Locks
- Wall Plugs
- Window and Blinds Control
- Multimedia Control
- Starter Kits and Bundles
- APPLE HOMEKIT
- Danfoss Link
- WiFi / LAN
- Zigbee
- Other products
- Gadgety
- Refurbished
- DISCOUNTS
2 Comments
Remco 23.02.2023 Reply
Hi,Is there a new version this script available for the HC3 ? :)
Would love to use it, but my coding skills are not good enough to update this script to HC3 myself...
Cheers.
SmarterHOME Team 23.02.2023 Reply
Hi,you can write us email at podpora@smarterhome.sk, and we can give you price offer for rewriting LUA code for HC3.
Thanks.
Have a nice day.
SmarterHOME